Looking to import passwords manually? Follow this detailed Manual Import Chrome LastPass Extension Windows 7 Guide to secure and organize your credentials effortlessly.
Introduction
Managing passwords securely is essential in today’s digital landscape. For users running Windows 7, setting up and importing credentials into LastPass manually can be a challenge. The Manual Import Chrome LastPass Extension Windows 7 Guide provides a step-by-step approach to help users securely transfer their passwords into the LastPass vault without relying on automated processes.
Whether you’re migrating from another password manager or simply backing up credentials manually, this guide will walk you through the process with ease.
Why Use the Manual Import Chrome LastPass Extension Windows 7 Guide?
If you’re still using Windows 7 and prefer manual control over your password data, manually importing passwords into the Chrome LastPass extension can offer several benefits, including:
- Better Security Control: Avoid potential data leaks associated with automated imports.
- Data Accuracy: Ensure all credentials are imported correctly without duplicates.
- Customization: Organize passwords based on personal or business needs.
- Offline Accessibility: Import credentials from a secure offline source like a CSV file.
For more information, visit the official LastPass website.
Key Features of the LastPass Chrome Extension for Windows 7
Before diving into the manual import process, it’s important to understand the features available in the LastPass extension on Windows 7:
1. Secure Password Vault
The extension securely encrypts stored passwords, ensuring your credentials are safe from unauthorized access.
2. Autofill Functionality
Easily log into websites with a single click using the autofill feature.
3. Multi-Device Syncing
Sync passwords across different devices, including desktops and mobile phones.
4. Encrypted Backup
Store passwords in an encrypted vault, providing an extra layer of security.
5. Secure Notes
Save sensitive information such as Wi-Fi credentials, software licenses, and banking details securely.
How to Manually Import Passwords into Chrome LastPass Extension on Windows 7
Follow these steps to manually import passwords into your Chrome LastPass extension on Windows 7.
Step 1: Prepare Your Password Data
- Open your existing password manager or browser where credentials are stored.
- Export your password list as a CSV file (Comma-Separated Values).
- For browsers like Chrome, go to Settings > Passwords > Export Passwords.
- Save the exported file securely on your system.
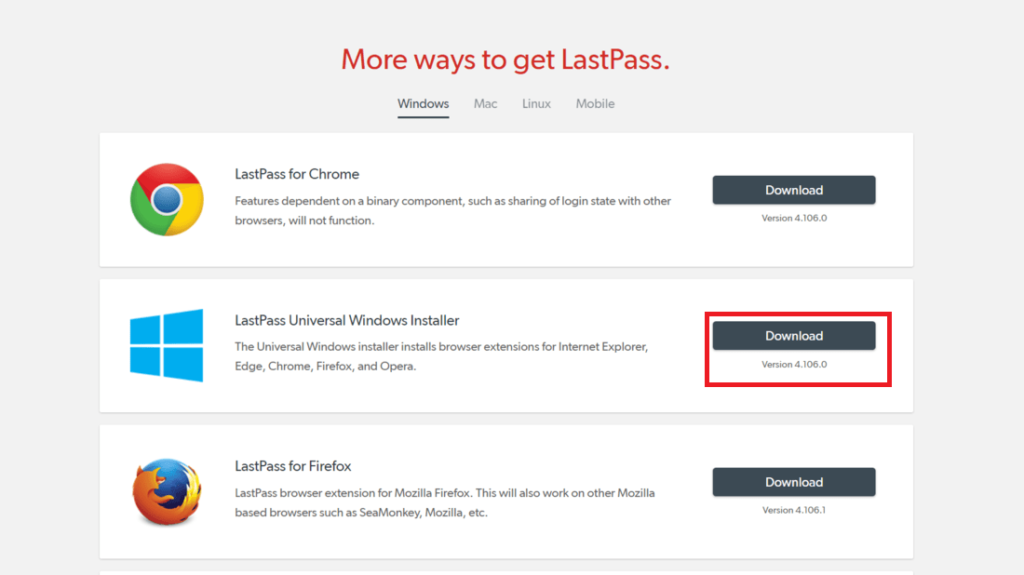
Step 2: Install the LastPass Chrome Extension
- Open Google Chrome on your Windows 7 system.
- Go to the Chrome Web Store.
- Search for “LastPass Password Manager.”
- Click “Add to Chrome” and confirm installation by selecting “Add Extension.”
Step 3: Log into Your LastPass Account
- Click on the LastPass extension icon in the Chrome toolbar.
- Sign in with your LastPass credentials.
- If you don’t have an account, click “Create Account” and follow the prompts to set up your vault.
Step 4: Access the Import Feature
- Click on the LastPass extension and go to “Vault.”
- Select “More Options” > “Advanced Options” > “Import.”
- Choose the CSV file you prepared earlier.
Step 5: Map Your Credentials
- Review the imported data to ensure all fields such as username, password, and website URLs are correctly assigned.
- Click “Import” to finalize the process.
Step 6: Delete the CSV File
Once the import is successful, delete the CSV file from your system to prevent unauthorized access.
Troubleshooting Common Issues During Manual Import
Users may encounter various issues while performing the manual import process. Here are some common problems and their solutions:
1. CSV File Not Recognized
Solution:
- Ensure that the CSV file follows the correct format (columns: URL, username, password).
- Use a text editor like Notepad to verify proper formatting.
2. Extension Not Functioning Properly
Solution:
- Restart Chrome and check if the extension is enabled under chrome://extensions/.
- Reinstall the extension from the Chrome Web Store.
3. Import Option Missing
Solution:
- Update the LastPass extension to the latest version.
- Ensure you’re logged in with an admin or primary account.
4. Passwords Not Syncing Across Devices
Solution:
- Check your LastPass sync settings under “Account Settings” > “Sync Options.”
- Log out and log back in to refresh the sync.
Comparison: Manual Import vs. Automatic Import in LastPass
If you’re wondering whether manual import is the right choice, the table below compares manual and automatic import methods:
| Feature | Manual Import | Automatic Import |
|---|---|---|
| Security Control | High | Moderate |
| Customization | Extensive | Limited |
| Ease of Use | Requires CSV file preparation | One-click import |
| Risk of Data Loss | Minimal (if done carefully) | Potential for duplicate entries |
| Supported Platforms | All (CSV export available) | Limited to supported browsers |
For users prioritizing security and accuracy, the manual import process offers greater control over data management.
Benefits of Using the Manual Import Chrome LastPass Extension Windows 7 Guide
Using the manual import feature in LastPass provides several advantages:
- Enhanced Data Security: Avoid sharing sensitive credentials through third-party apps.
- Full Control Over Passwords: Organize and categorize login credentials as needed.
- Seamless Transition: Migrate from other password managers without errors.
- Backup Capabilities: Keep a secure offline copy of your credentials.
- Windows 7 Compatibility: Works smoothly without the need for additional software updates.
Best Practices for Using LastPass on Windows 7
To ensure optimal performance and security, follow these best practices when using LastPass on Windows 7:
- Enable Two-Factor Authentication (2FA): Add an extra layer of security to your account.
- Regularly Update Your Master Password: Change your master password periodically for better security.
- Review Your Vault Periodically: Remove outdated or unused credentials from your vault.
- Backup Your Data Securely: Store a copy of your passwords in an encrypted drive.
- Avoid Using Public Wi-Fi: When accessing LastPass, always use a secure connection.
FAQs About Manual Import Chrome LastPass Extension Windows 7 Guide
How do I manually import passwords into LastPass?
You can manually import passwords by exporting them to a CSV file, then uploading the file through the LastPass Chrome extension’s import feature.
Is manual import safer than automatic import?
Yes, manual import provides greater control over data accuracy and security compared to automated imports.
Can I use LastPass on Windows 7 without Chrome?
Yes, LastPass offers a standalone desktop application compatible with Windows 7.
What should I do if my CSV file contains errors?
Verify the formatting of the CSV file and ensure there are no missing or incorrect entries.
Does LastPass support importing from other password managers?
Yes, LastPass allows imports from browsers and major password managers like 1Password, Dashlane, and KeePass.
Conclusion
The Manual Import Chrome LastPass Extension Windows 7 Guide offers a comprehensive solution for users looking to securely migrate their passwords without relying on automated processes. With LastPass’s robust features, users can enjoy a seamless and secure password management experience.
Ready to take control of your passwords? Download LastPass today and enhance your security with ease!